photoshop怎么给图片设置网状效果 photoshop给图片设置网状效果的方法

很多新手小伙伴还不了解photoshop怎么给图片设置网状效果,所以下面本站就带来了photoshop给图片设置网状效果的方法,有需要的小伙伴赶紧来看一下吧。
photoshop怎么给图片设置网状效果?photoshop给图片设置网状效果的方法
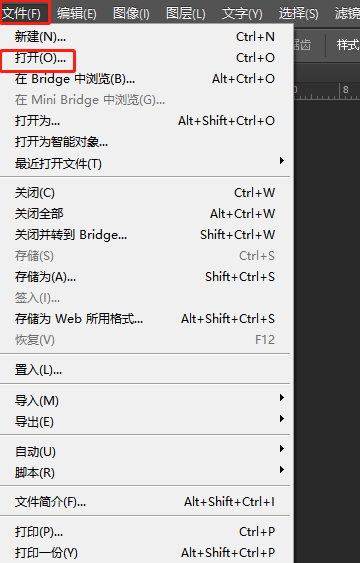
1.首先打开photoshop软件,并来到页面上点击文件选项,在弹出来的下拉选项中选择打开选项,如下图所示。
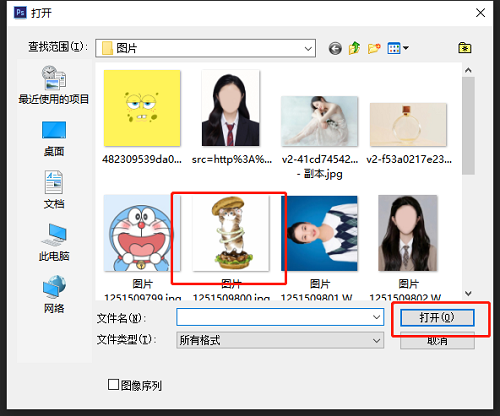
2.在打开的文件夹窗口中,用户选择自己喜欢的图片后按下打开按钮,如下图所示。
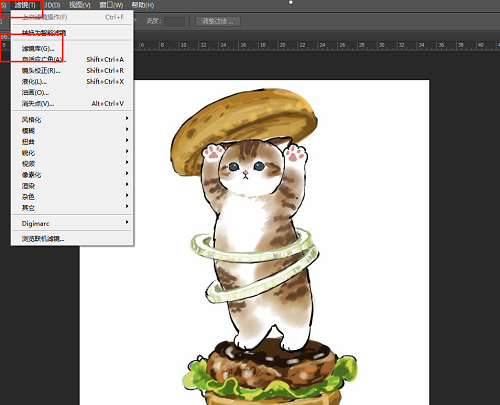
3.成功将图片打开后,用户需要点击菜单栏中的滤镜选项,在弹出来的下拉选项卡中,用户选择其中的滤镜库选项,如下图所示。
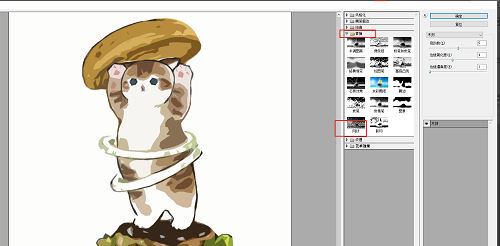
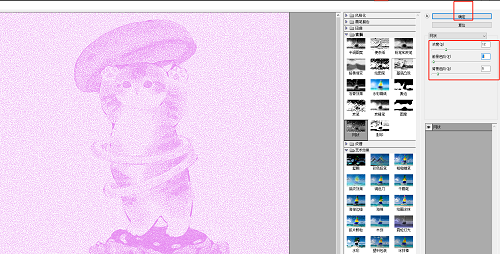
4.进入到滤镜库窗口中,用户点击其中的素描选项,在弹出来的效果选项中,用户找到并点击网状选项,如下图所示。
5.随后用户在根据实际情况调整网状的浓度、前景色和背景色,最后按下确定按钮就可以了,如下图所示。
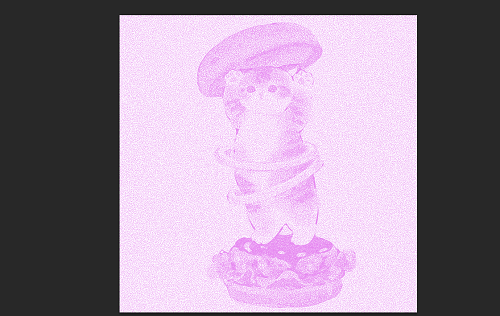
6.最后,就可以看到图片成功设置网状效果了,如下图所示。
上面就是本站为大家带来的photoshop怎么给图片设置网状效果的全部内容,更多精彩教程尽在本站。
© 版权声明
文章版权归作者所有,未经允许请勿转载。